Ensure that the frame is completely free of dirt, dust, grease and all other contamination before fitting the decals.
Before applying the new decals, mark out their position using masking tape with a clearance of a couple of millimeters, thereby giving it a “window” in which to place it.
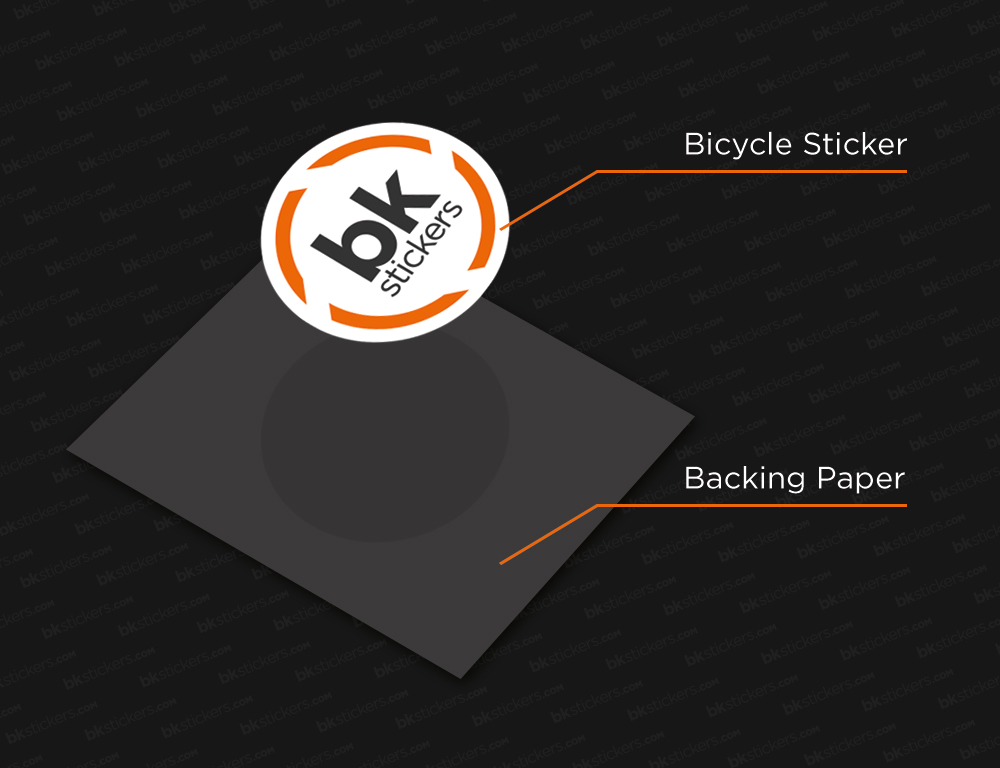
The Fork and Wheel stickers we supply are adhesive backed. You only will need to lift the sticker and apply it(usually from top to bottom, or left to right).
Once you have positioned your sticker on the bicycle frame, you can rub over carefully (with your finger), without damaging the sticker.
Don’t forget to send us some pictures with the new stickers.
CUT VINYL – RIDER ID STICKERS/WHEELS (TRANSFER STICKERS)
Ensure that the frame is completely free of dirt, dust, grease and all other contamination before fitting the decals.
Before applying the new decals, mark out their position using masking tape with a clearance of a couple of millimeters around the transfer position, thereby giving it a “window” in which to place it.
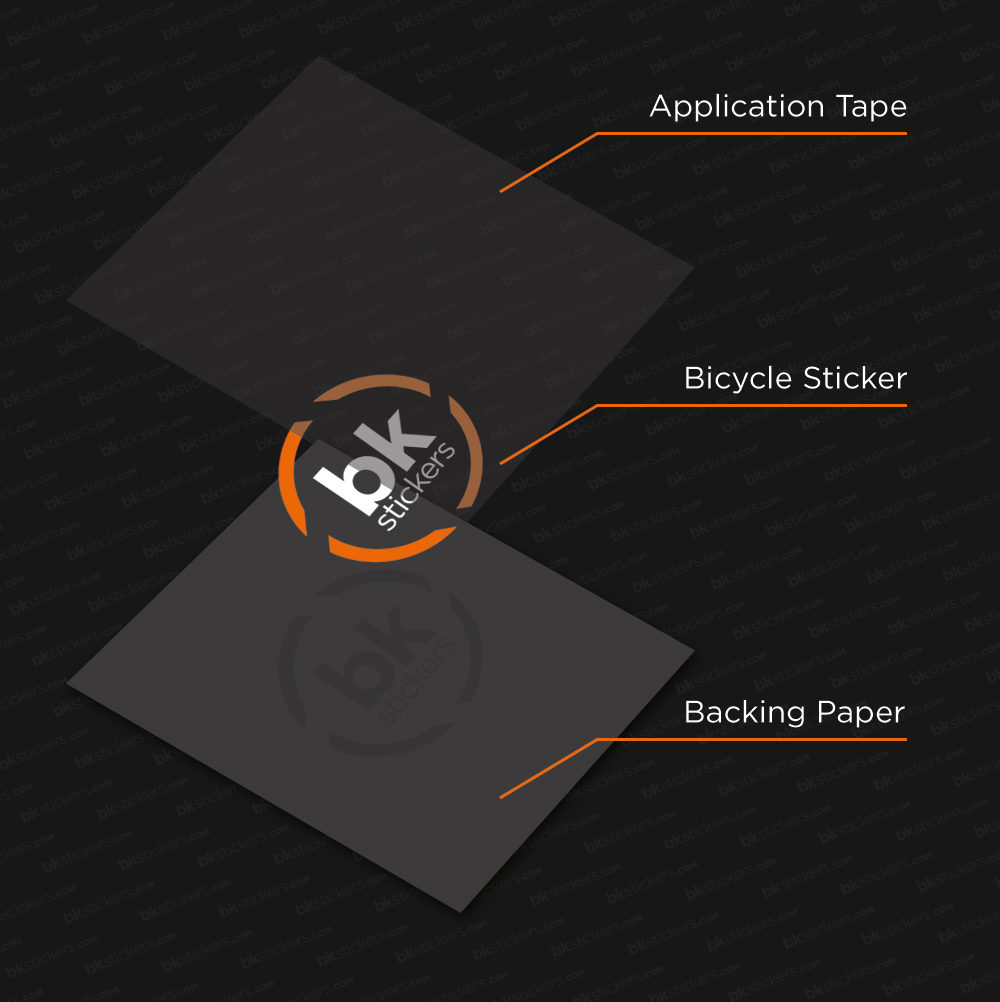
The Rider ID stickers we supply are adhesive backed. To make handling easier, we supply them with an application tape layer.
The application tape when peeled back from the backing paper will lift the sticker with it ready for applying.
The application tape helps with handling and positioning when applying the sticker.
Once you have positioned your sticker on the bicycle frame, you can rub over it through the application tape securing it without damaging the sticker.
When you are happy that the sticker is applied, carefully peel back the application tape. This will peel away without damage as it has a low adhesive backing compared with the sticker.